|
There
are several ways to capture infrared images. In the film days one had
to buy infrared sensitive film and use a special infrared filter in
front of the lens. Modern digital cameras are specifically
designed not to
capture infrared light and have therefore a special infrared cutout
filter installed in front of the imaging sensor that filters out most
of the infrared light. Some cameras have weaker filters than others and
can capture infrared light with a infrared filter in front of the lens.
The negative side of this method is that the shutter has to be open for
long periods of time, hence requiring a tripod. In
order to use the camera for IR photography and using regular shutter
speeds, the camera's hardware has to be modified. This modification is
not for the faint of heart and shouldn't be attempted by inexperienced
people that never handled electronics before. There is a serious risk
that you will damage your camera beyond repair. There is also a risk
for serious electric shock as many cameras have a big capacitor (330
Volts!) for the flash built in, that holds its charge for a long time.
If you have even the slightest doubts of what you are doing, please
take my advice and send your camera to one of the professional
conversion services available. Two of those services are www.lifepixel.com and www.kolarivision.com Those
two vendors are also selling special infrared filters for DYI projects.
I chose the filter from Kolari as it was half price. The camera I had
for the conversion is a Nikon D70 that I picked up for $50 from a local
classifieds website. The D70 is an excellent donor for an IR project.
It's a good camera with 6 Megapixels and a large image sensor. DSLRs
are much better suited for IR photography as post processing the images
require more dynamic range which compact cameras can't deliver as
well. the following is a little writeup about the conversion. Please note that this procedure will definately void the camera's warranty.
|
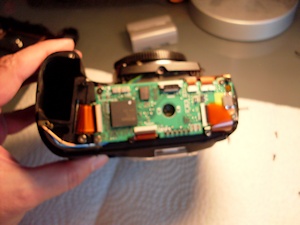
This is the Nikon D70 camera ready for the infrared conversion. It's
extremely important to have a clean workspace and the right tools. You
have to have a ground strap (useful for all electronic projects) and a
good set of precision screwdrivers.
The little black
square you see next to the camera is the infrared filter. I chose a
filter that is sensitive to a wavelength of 720nm. |

|
|
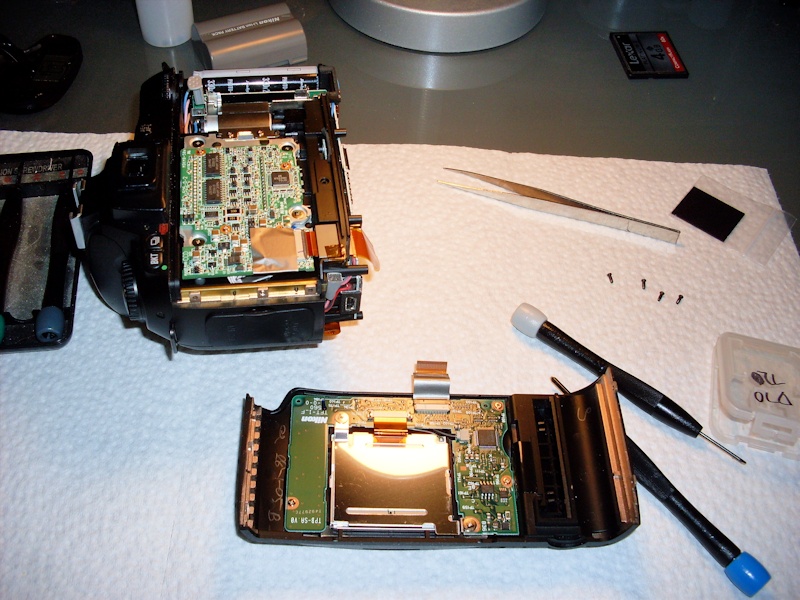
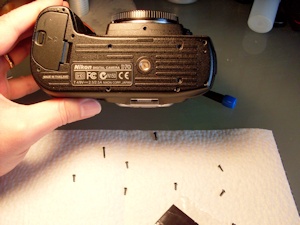
Next step is to take the bottom plate off. There are three different
screw sizes for the bottom plate alone, so it's important to note what
screw goes where. As with any project it's extremely usefull to take
photos along the way, so you can see what you have done.
|
|
|
This photo shows the bottom plate off. Sorry, the photo is a bit out of
focus. Now one has to disconnect the two flex cables in the middle and
on the right of the image. Those connectors are rather small, so one
has to be careful not to damage them. If the connectors are damaged,
it's game over.
|
|
|
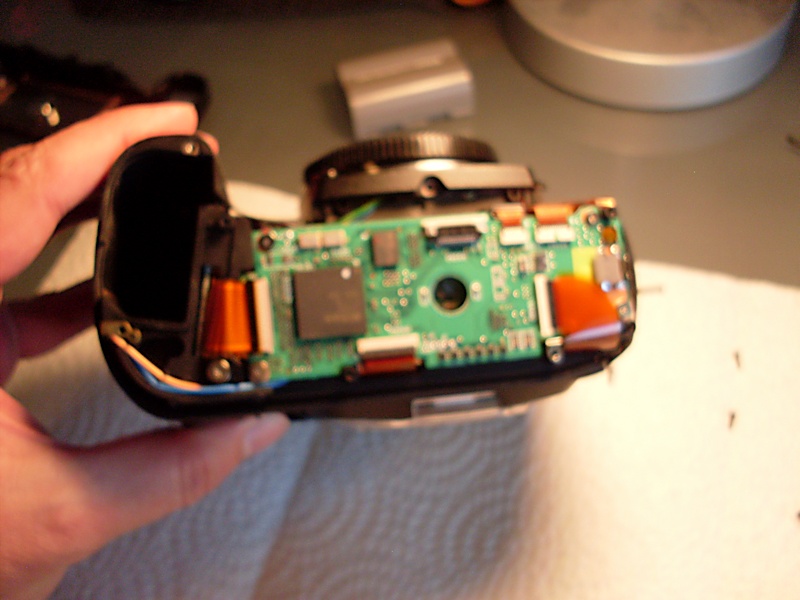
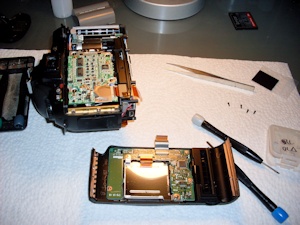
After the bottom plate is off, one can remove four screws, two on the
left and two on the right side of the camera. Now the back plate that
holds the LCD screen in place comes off the camera and reveals the CCD
sensor board. This sensor board we need to get to in order to replace
the infrared filter.
|
|
|
With the CCD sensor board
removed you can see the camera's shutter assembly. This is a good time
to inspect the shutterblades for wear and tear and especially for oil
residue on the blades. If you can see oil on the blades, it's not worth
doing the conversion as it would require an overhaul of the shutter. If
everything looks ok, you can go ahead and modify the sensor assembly as
shown in the next steps.
|
|
|
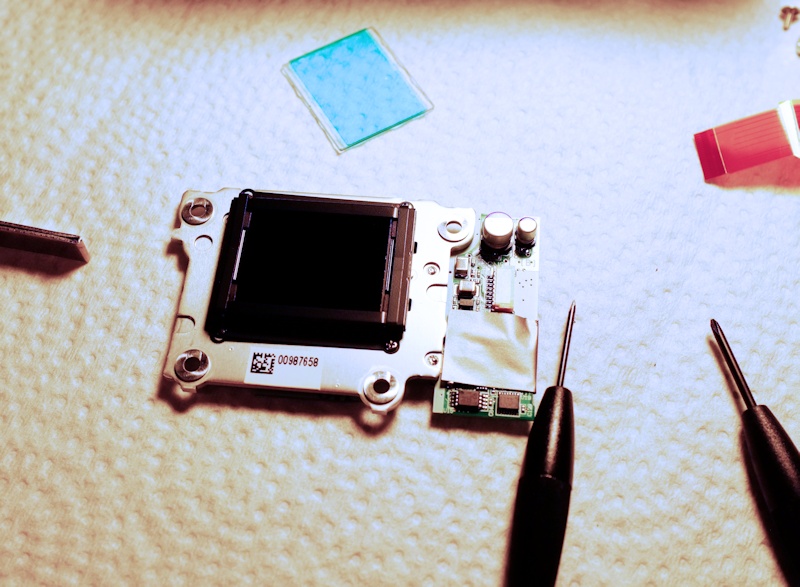
Here you see the CCD Sensor assembly board. The blueish tint on top of
the sensor is the factory infrared cut filter that needs to be removed
and replaced with the infrared filter. The filter is held in place by
four tiny screws. This replacement is actually straight forward. The
only difficulty is to keep the sensor itself free of dust. The way to
do this is a to work fast, work with latex gloves and have a little
airblower handy in case some dust settles on the sensor while working.
Since I had to work fast here, I had no time to take a photo of the
filter removed.
|
|
|
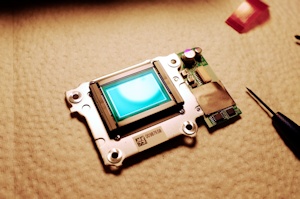
And
here you see the CCD sensor board with the new infrared filter in
place. The filter is really dark. The light blue square on top of the
board is the factory infrared cut filter. It's important not to scratch
or touch this filter in case you want to reverse the conversion at a
later date. The rest of the conversion is a reversal of the steps
above. The most tricky part of the whole process was the fitting of the
tiny flex cables.
|

|
It
is important to note that infrared photography shifts the focus of the
camera. On cameras with autofocus the focus has to be re-adjusted,
which is - again - nothing for the faint of heart as it requires
precision tools and experience where the focus needs to be at. The best
way of going about it is to calibrate the focus to one specific lens.
This lens should be suited for infrared photography. Some lenses have
coatings that are not suited for IR and can produce hot-spots,
basically bright flares, that can ruin your images. A list of suitable
lenses you can find here: http://www.kolarivision.com/lenshotspot.html
Every
camera has to be calibrated differently, in case of the Nikon D70
calibration is relatively painless as the autofocus adjustment screws
are located inside the mirrorbox and can be accessed without taking the
camera apart. Older lenses have a infrared focus shift indicator on the
focus scale (usually a tiny red dot) which is helpful if you don't want
to touch your camera's autofocus system. Taking photos in infrared To take photos in the infrared wavelength requires a bit of re-thinking
as digital cameras are not designed to shoot in infrared. You have to
learn how to control your white balance with custom presets as the
camera has no way to compensate for infrared. Without custom white
balance, an image would look something like this: 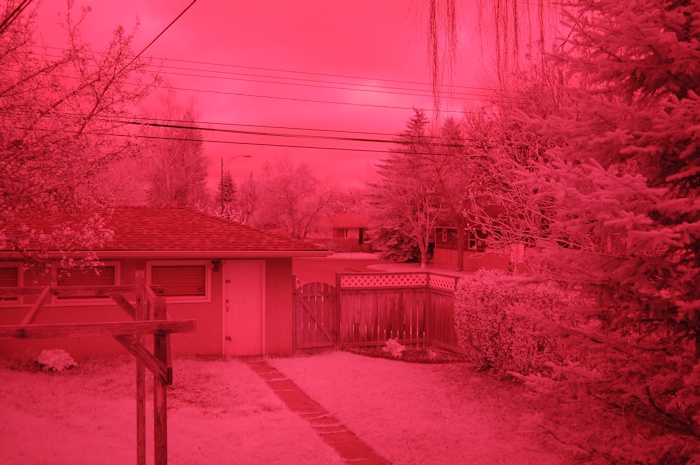
Certainly
not very pleasing. Now the easiest way to get around this problem is to
convert the image to Black and White, using image editing software.
This way you will end up with something like this:
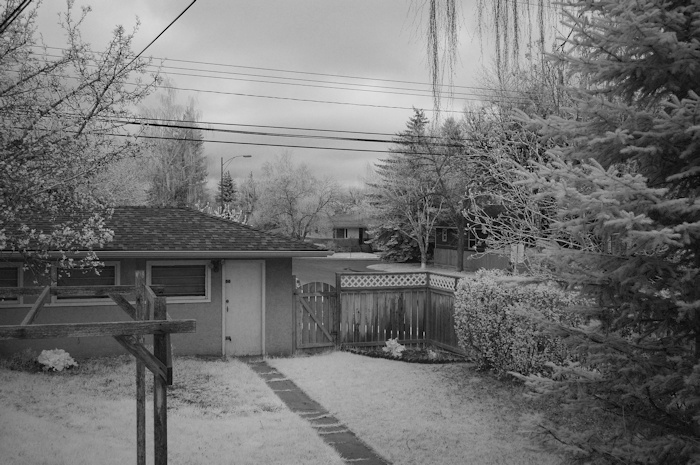 Now
this doesn't look all that different compared to a regular Black and
White image, except for the grass and the foliage on the trees that
appear white. In an infrared image, everything that emitts or reflects
infrared appears brighter, while subjects that reflect low amounts of
infrared appears darker. As I said before, the camera's auto white
balance will no longer work, so in order to get color photographs, we
have to set a custom white balance with the help of a grey card. The
idea behind a grey card is that you can tell the camera what is a
certain shade of grey (in the photography world this shade is 18%
grey). Once this is established, the camera "knows" what grey is and
can set all the other colors accordingly. After properly setting the
white balance, a unadjusted color infrared photo straight out of the
camera will look something like this: 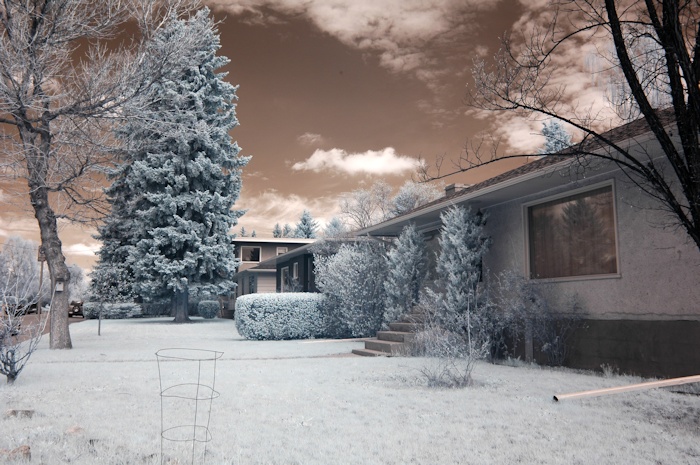
Although
this is already better then the initial image without the proper white
balance, it still is a bit boring. There is not a lot of contrast and
the image looks a bit flat and dull. While the color of the sky would
be ok for the planet Mars, it would be a lot better if we could achieve
a more Earthly color. That's were image editing comes in.
In programs like Photoshop, Paintshop Pro or The Gimp, you can
chose the Channel Mixer to change that. You basically have to swap the
red and blue channels and boost the contrast a bit. After that you
might end up with this: 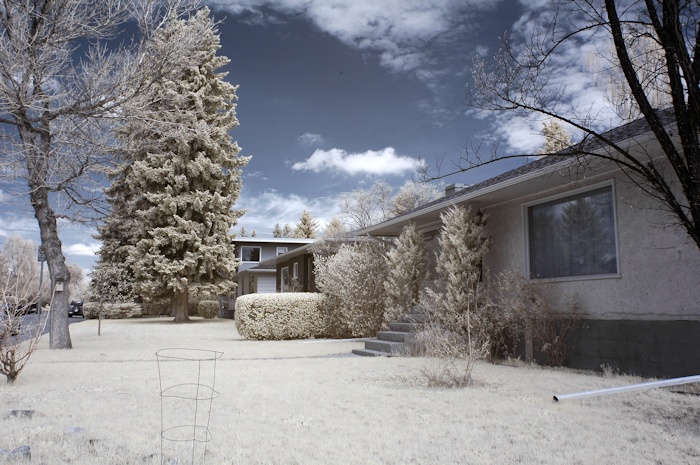
Now
that looks a lot more natural. Of course the infrared makes the grass
look white and other detail in colors we are not used to, but we are
not trying to achieve an all natural look. We have to remember that we
are taking photos in a wavelength normally invisible to the human eye. Over time I will expand this section with Archaeological samples as well. Stay tuned.
|